Showing posts with label DIY. Show all posts
Wednesday, July 17, 2013
Too Much Basil? NEVER!
Last August, Food Network Magazine had a little blurb about making basil salt. WHAT? REALLY? How cool is that!! So I harvested my herbs & set to making flavored salt. We've been out of basil salt for a while now, and my son has had to resort to using rosemary salt on his salad greens. Yeah. You read that right.
The basil was getting big (and wilty because I forgot to water in this dumb heat), and as we'll be gone next week, I thought it was as good a time as any to chop it off and make salt.
How to:
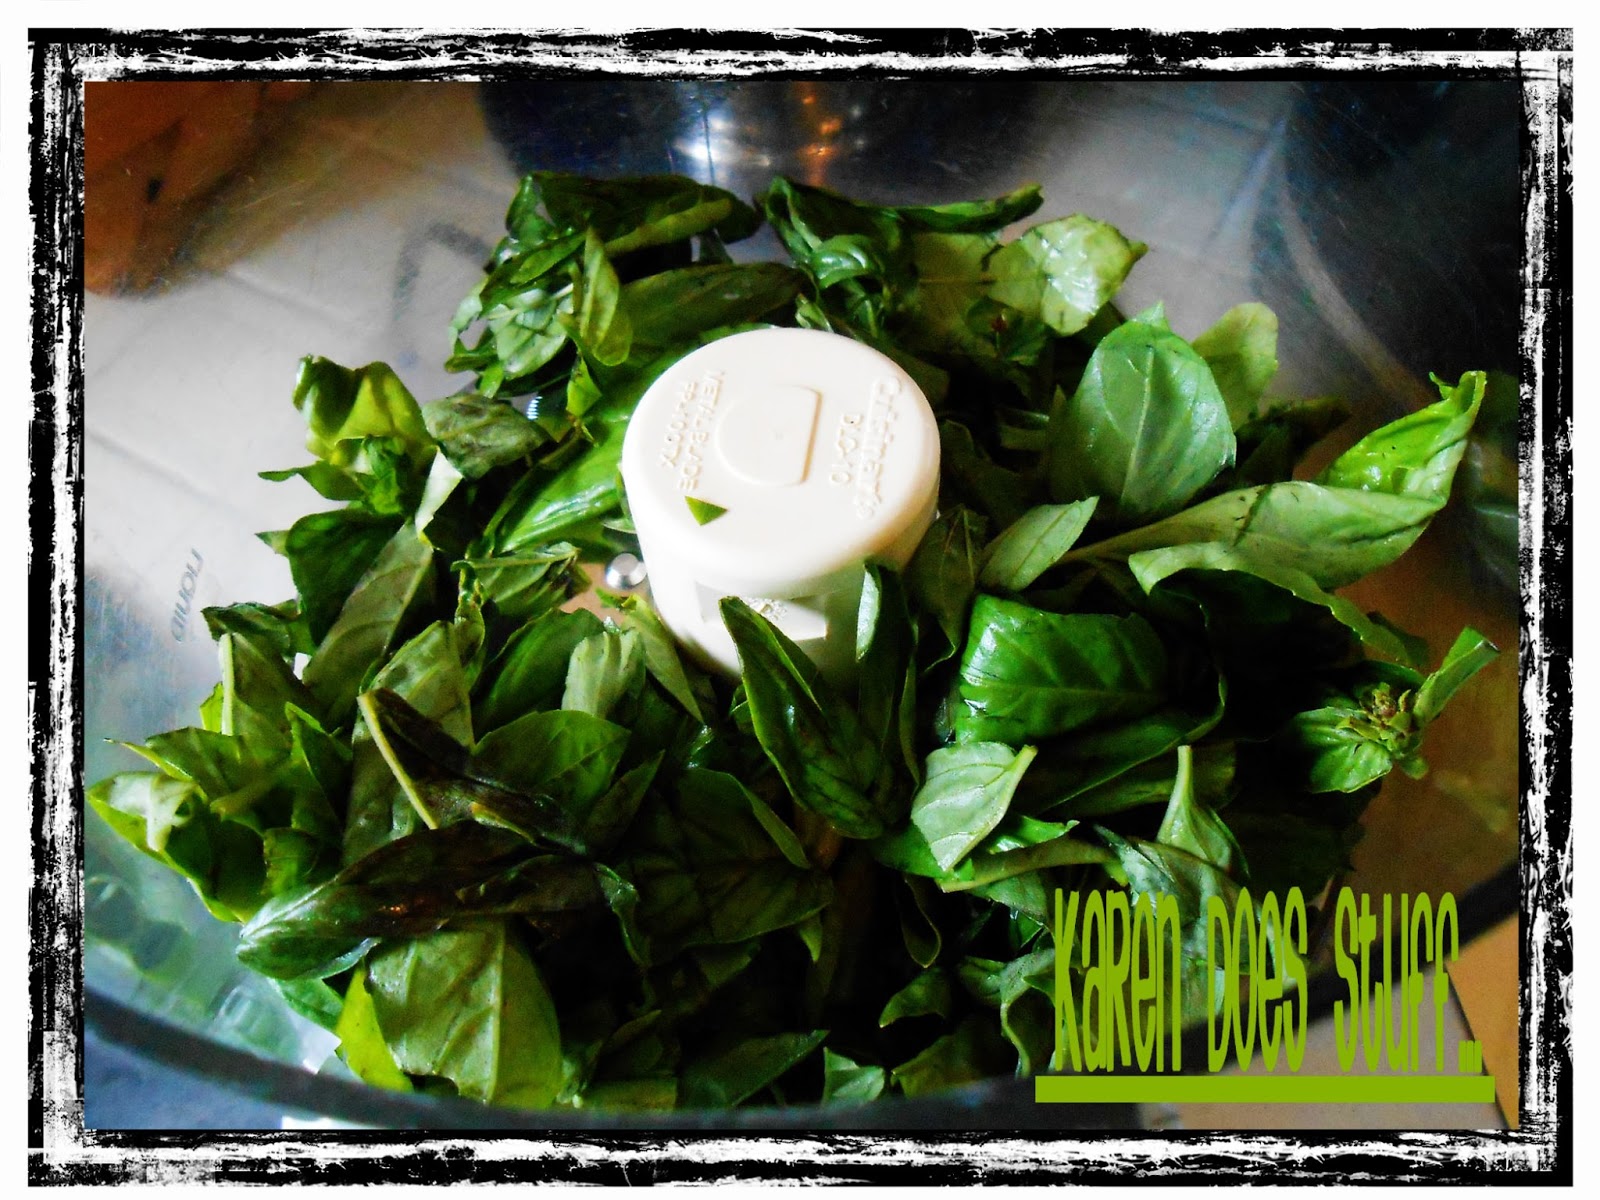
Big handful of basil, rough chopped, into the food processor. I probably had about a cup & a half. Pulse a few times.
Dump in kosher salt (I used generic brand, which I accidentally bought thinking I could use it daily, but the grains aren't as big). Probably a cup's worth. Pulse. Add more salt until it looks like the right mix.
Heat your oven to 225 degrees. Cover a cookie sheet with foil or parchment (I even sprayed it lightly). Spread the salt mixture out. The idea is to dry out the basil- I'm not sure of the 'exact', but I set the timer for about 5 minutes, stirred it around, gave it another five minutes. Maybe a few more minutes. You want it dried out.
And there you go. Put into cute jars & give to your friends. Like I said, it's really good as a salad topper. and of course on pasta, or fresh mozzarella.... or anything!
So, you see the possibilities, right? ANY HERB. ANY MIX OF HERBS. My favorite is roasted garlic. This is fun. Go. Do.
Tuesday, May 28, 2013
Family Heirloom = Summer Project
I want a new kitchen table. What I really want is my husband to build me a table. He has been actively ignoring this conversation for over a year. I was even starting to figure out how to build it myself (or, find a family member brother to help me).
Imagine HOW EXCITED WE BOTH WERE when my cousin asked if I'd want that table that Grandpa had built. Let me repeat that: That Grandpa had built. Probably, like, 25 years ago. We all have things Grandpa built for us, I have a lovely glass book case, and of course my baby doll furniture that will be dug out of my parent's attic if when I have a granddaughter. I bribed my In-laws with dinner in exchange for them bringing it over for me. Well worth it.
Farmhouse table, with two benches. I may just use one bench and look for some wooden chairs,
but this is very close to what I've been looking for.
Sure, after a little while in a storage unit it needs a little work, but that's ok.
I'm thinking I'm going to strip the top & refinish it, but paint the legs black. Kind of distressed.
Like this one:
![]() |
| From Hudson Goods |
Yes? Yes. I'm excited. Now if the weather would dry out enough to get out & work on it!
Tuesday, April 30, 2013
Turquoise Spray Paint... My Latest Addiction
Spring, finally, may have sprung here in central Illinois...
and I decided it was time to update some of our stuff. First up, the wicker plant stand:
for the record, turquoise spray paint isn't just everywhere. Valspar makes two pretty shades of it though, Tropical Oasis & Exotic Sea. I like the Tropical Oasis a little better- its the color I used on this plant stand.
While standing in the paint aisle at Lowe's, I started talking to another paint shopper. She convinced me to go ahead & try to paint some planters. She also apparently buys spray paint because she likes the colors, not because she has a project in mind for it. I can get on board with that- collecting spray paint like I collect... yarn, paper, fabric, any thing with color...
So I started with this old urn... it's a little beat up. I washed & used a little steel wool over it. This was painted with the exotic sea color of paint. It's a little brighter than the other color.
and here you go!
I love it!!
Now to go through my stash of planters & see what else I can transform...
Wednesday, April 24, 2013
The Outdoor Cushion Project
I've been dying to show you my brand-new-made-by-me patio cushions but it seems Mother Nature doesn't think you need to see them in action. Our poor patio set-- ten years old, not ready to be tossed but not quite worthy of hundreds of dollars of new cushions - won't know how to feel when the weather finally does turn warm and gets to be all pretty again! I also made new cushions for our three piece wicker set. It didn't really need them, but they wouldn't have matched, and I knew that would bug me.
Outdoor fabric from Fabric.com...about $8/yd and two spools of thread- all for less than $70. I was very, very fortunate in that we were able to re-use the foam from the old cushions. Buying new foam would have been the deal breaker. Outdoor foam is really expensive. I didn't price it out all the way, but would have cost an easy $150. Our original cushions had a bottom and a back. I wasn't really feeling like making a full back piece, so I used the batting from the old backs, folded it in half, and made small pillows for the chairs.
So, all in all... 6 chair bottoms, 6 chair pillows, and 3 pads for the wicker set. I used these instructions from Sew4Home as my guide. I did NOT make the piping. That seemed... exhausting. It was not a hard project, at all, but took some time.
Hopefully, SOON, we can take our cushions outside and enjoy them! I think they'll go nicely with a bottle of chardonnay, don't you?
Friday, April 12, 2013
I Made a Tiny Book, You Can Too!
Recently I fell in love with all the little book charms on ETSY. Just search it, there's lots of choices. I wasn't entirely sure on how to go about making one, and then I found this tutorial. I thought "hey- I've got all the stuff to try that!" and set out to try it.
I knew it wasn't going to end up being exactly what I wanted on the first try, but you have to start somewhere, right? I think I would like mine to have real covers on them - like Gone With the Wind or something... which means scanning a cover I have & making it tiny, or finding an image online. I also think I'd like it just a little bit smaller, and with the cover wrapped around so you don't get edges. Or I could just Mod Podge onto a scrabble tile, I guess. Either way, I'm glad I tried this and it's given me some ideas of where to start to get the effect I want.
Monday, April 8, 2013
I Did It, and I Didn't Make a Mess
Yes, that title accurately depicts this project.
I can be a bit of a disaster when it comes to doing stuff. It often takes me as long to clean up after a project as it did to DO the project. So when I decided to tackle this one, I was prepared for the worst.
(say it with me) 'On Pinterest'...I saw all these cute ombre dyed shirts. I haven't bought dye for anything for a very, very long time. I didn't even know you could get dye other than Rit!
I picked up 2 colors (Ocean Blue and Goldfish) of Dylon dye at Joann's, and 2 tees at walmart (so, end price about $7/shirt). I washed the shirts with no fabric softener - I don't know if it matters, but thought it safer - and left it all sit. for about two months.
I finally got up the courage to do it, and here is the tutorial I used. I followed her instructions and it all seemed to go as planned. My only other advice-- keep the cold water running in the other sink. I ran the lighter end throughthe water to rinse and blend several times. and get a few big old towels out- I used one on the sink edge so I didn't lean into the dyed water.
HUGE COMPLAINT TO HANES!! Do we really, really need giant read tags printed into the shirt??? This is visible from the back of the shirt. These are fine for everyday, wear around things, but if I wanted something more professional looking, I would spend more money on a really good shirt.
I think I'll be watching for other shirts to try this on- maybe a button down. and more time in the dye.
Thursday, April 4, 2013
Car Storage, CHECK!
Then I remembered my fabulous storage baskets I made a few months ago, and went about adapting them for the car. Yes, I used my favorite Nancy Drew fabric for one of them. and yes, I realize it doesn't really match the interior, and some of you would be much, much happier if both baskets matched. I understand, really I do, but I'm not sure you completely understand my love for this fabric.
I used a fabric stabilizer in the back side of the baskets- the back side being the side with the velcro. I could have also used a piece of cardboard (by cardboard, I mean a cut-up cereal box) here, but I had the stabilizer, so that's what I used. I did put pockets on the blue one, one on the inside & one on the outside. Chances are very good I will completely forget what I put in the pockets, because that's how I roll. I considered lining these with vinyl, but it seemed like a hassle. If you have little kids, you might think about it. Or making it so you could line it with a shopping bag, maybe with big buttons on the side to hold the handles?
Sew-on velcro on the bag, heavy duty industrial sticky velcro on the plastic part of my car. This may slip in the heat, but I'll deal with that when the time comes.
| Velcro! |
You can find a million tutorials online about making fabric boxes or baskets. Just figure out what works for your situation...
I love my baskets!!
Monday, March 11, 2013
Ironing Board Diva Part 2
Inspired by a Sew4Home project, I set out to make a little caddy to hang from my ironing board to hold stuff. Since I didn't really want to follow directions, I just started by cutting & laying it out. If you want real instructions, you can start here.
I used an iron-on fleece for the batting. If you think it looks crooked, it is. On purpose. I'm completely nuts and use my ironing board backward. I like to use the big square end for stuff, and leave the pointy end alone. so- I needed this to hang at the pointy end. Which meant in order for my pocket to hang straight, I had to make it crooked. Get it?
I made a little pincushion for the top- if I'd been thinking ahead, I'd have sewn velcro to it before I put it together, but I never work like that. So instead it got this cute rickrack to hold it down. It also leaves the pincushion removable, so that's not so bad.
Finally, I needed a little thread catcher. I'm sure there are all kinds of ways to do this. I ended up cutting 2 squares, 9x9 and sewing right sides together. Then I cut a little 3" square of cardboard, laying it in the middle, and pressing creases all around. I sort of just ad-libbed it, folding all the ends together & stitching across. It turned out cute, was very simple, and I think I'll make a few more.
All in all- a quick project. Especially considering I was making it up as I went!
Thursday, March 7, 2013
Burlap Mantle Re-Do
I picked up these REALLY CUTE burlaps at Joann's last week ($9.99/yd - I bought 1/4 yd of each & had a coupon, so less than $2/piece). Maybe 'burlaps' isn't a word, but it should be. So you know - Burlap STINKS. actually. smells nasty. and, it made me a little itchy.
The plan: to freshen up my fireplace/mantel area. I dug out some of my candle holder stash, a ruler & a hot glue gun & went to town. I covered 4 glass containers simply by wrapping a piece of burlap & running a line of hot glue down the back. I figure I can pick the hot glue off later when I'm ready to un-do the burlap. Some of them got at cute little wrap of grapevine wire, some got a stripe of a different burlap.
I love my animal print decorator balls, but they are pretty beat up and chipped, so I decided to cover them, too. They aren't perfect, but it's burlap, and rustic, right? They look pretty good if you don't get close :)
I did buy the yellow vase at Hobby Lobby ($22).
see my very, very special dried hydrangeas? I cut those
the day we moved last summer.
I'm really happy with the way it all turned out. Now I'm ready for summer, right?
Wednesday, February 20, 2013
Well.... That Went Horribly Wrong
Several weeks ago, I was completely suckered in by some adorably geeky painted glassware I found on Etsy. (see here). Go ahead, look, they are really cute. Mario flowers- how cute? right?
And, the way most things start, I said "huh. I can do that." That very same day, my brother found the exact glasses I needed for this project- at the whooping price of 50 cents each. Off to buy glass paints and some new brushes (apparentlywe I didn't move small paint brushes with us) and I was psyched (WOO HOO) to do this.
and.... here you go:
And, the way most things start, I said "huh. I can do that." That very same day, my brother found the exact glasses I needed for this project- at the whooping price of 50 cents each. Off to buy glass paints and some new brushes (apparently
and.... here you go:
Now, go back to the cute Etsy ones & compare. or not. no need to. This is even after I washed off all the paint and started over a second time.
Guess what? They still hold wine. So there.
Thursday, February 14, 2013
Shopping Bag Hack (or, Best Idea EVER!)
I don't know about you, but I end up at the grocery store with a pile of shopping bags, my purse, and my list, all stacked in the front part of the shopping cart. Typically my list falls to the ground somewhere around aisle 2, leaving me with no idea what I came in to buy. So when I saw these on Sew4Home, my first thought was 'BRILLIANT!", and off I went to buy the stuff to put them together.
The instructions tell you how to double up the bags and even add an inside pocket. I was just wanting the vinyl pocket on the outside to hold lists & coupons, so I skipped all the other steps. I bought a medium weight vinyl ($4.99/yd + coupon!) and found a clearance fabric that matched the bags without being too annoying. I now own a lot of vinyl, by the way.
Vinyl needs a little love if you want to sew on it - I used masking tape to hold it in place (don't sew over the tape) and wax paper over the whole thing.
Really, how fun is this?! I'm excited to go to the store now. well, maybe not excited...
Friday, February 1, 2013
Not Microwave Popcorn
OK. We love popcorn. Real popcorn. Made in a real Whirley Pop popper.
About twice a year I'll buy microwave popcorn, and hate it. I burn it, it smells bad, blah blah blah. For a while now I've been seeing 'make your own microwave popcorn at home' things. Really? I mean, really?
Well, yeah. It works.
Paper bag, 1/3 - 1/2 cup popcorn. Roll the bag over & stick it in the microwave. As with any microwave popcorn, stand and watch it. Mine took about about 1 1/2 minutes. I used 1/2 cup, but won't use as much next time. There were some unpopped kernels, and my bag opened at the bottom, but I will do it again for sure.
About twice a year I'll buy microwave popcorn, and hate it. I burn it, it smells bad, blah blah blah. For a while now I've been seeing 'make your own microwave popcorn at home' things. Really? I mean, really?
Well, yeah. It works.
Paper bag, 1/3 - 1/2 cup popcorn. Roll the bag over & stick it in the microwave. As with any microwave popcorn, stand and watch it. Mine took about about 1 1/2 minutes. I used 1/2 cup, but won't use as much next time. There were some unpopped kernels, and my bag opened at the bottom, but I will do it again for sure.
and guess what? No weird stuff. It's popcorn. THAT'S ALL. Add your own butter & salt.
Subscribe to:
Posts (Atom)
